IDEA工程创建(使用Spring Initializr脚手架)
Spring Initializr配置
在空项目中新建 模块 选择spring脚手架 进行如下配置
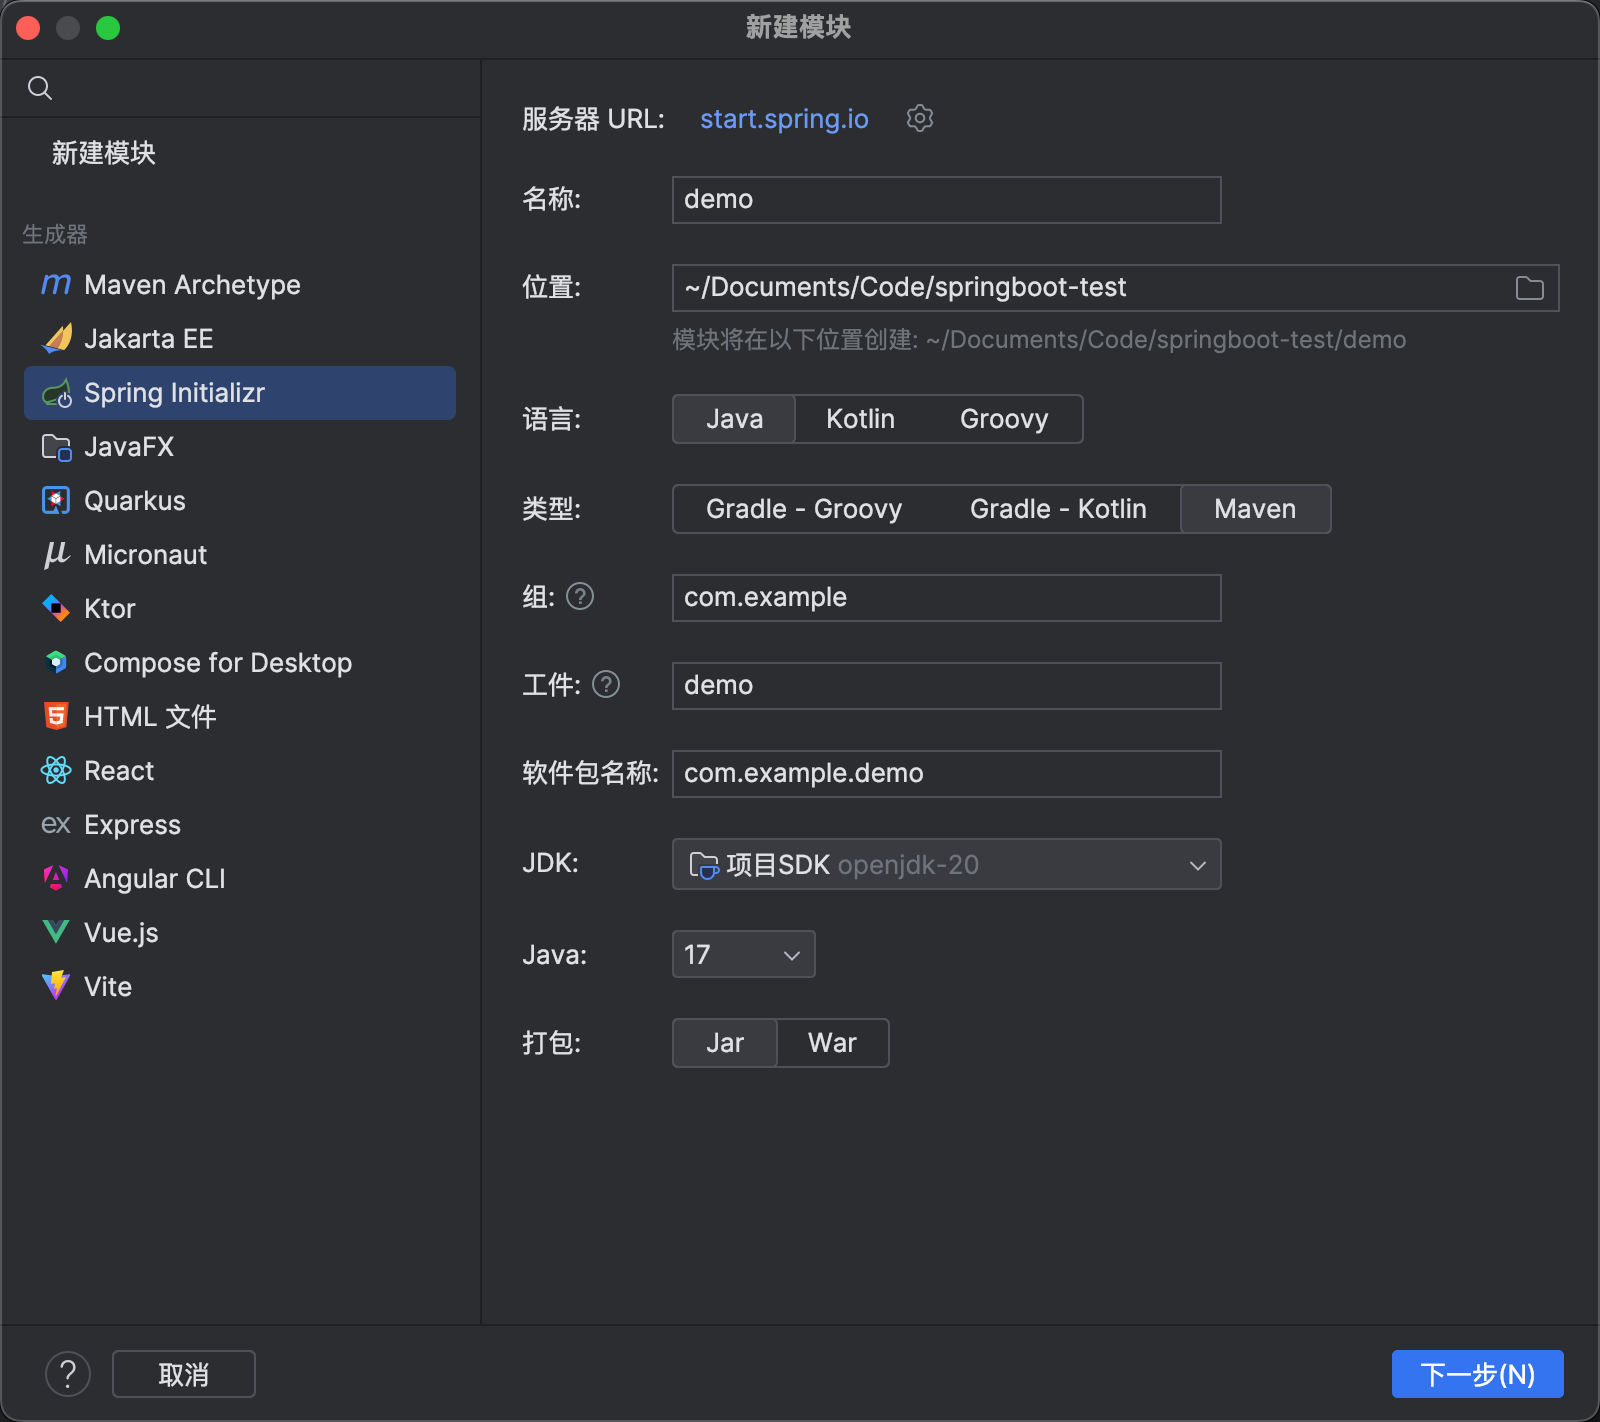
其中我们使用maven作为依赖管理工具,后文会提到本地maven安装的步骤。
Springboot依赖安装
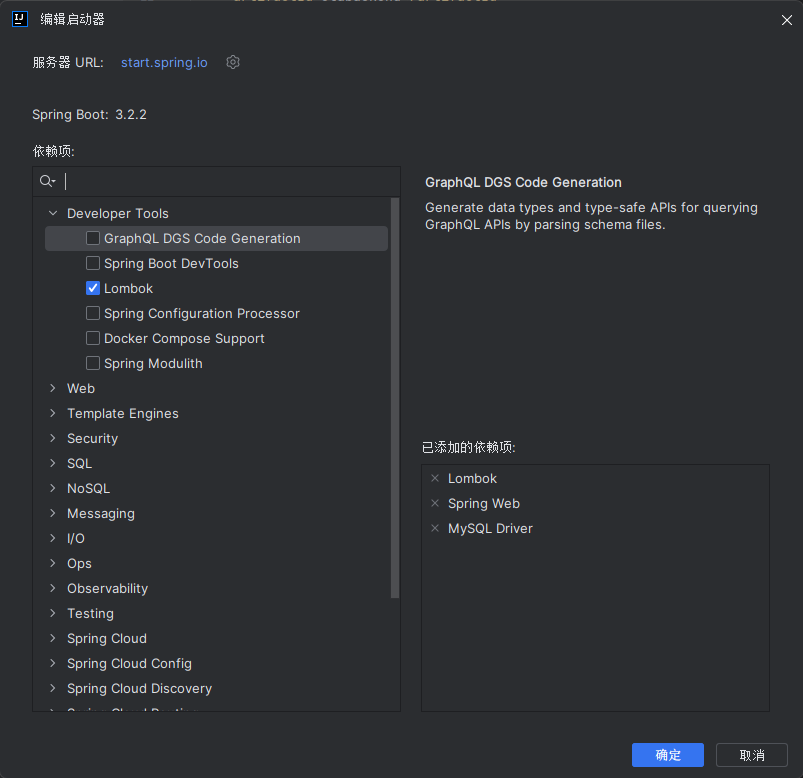
idea提供了一个可视化的依赖安装工具,可以勾选需要的扩展,会自动加载到pom.xml文件中
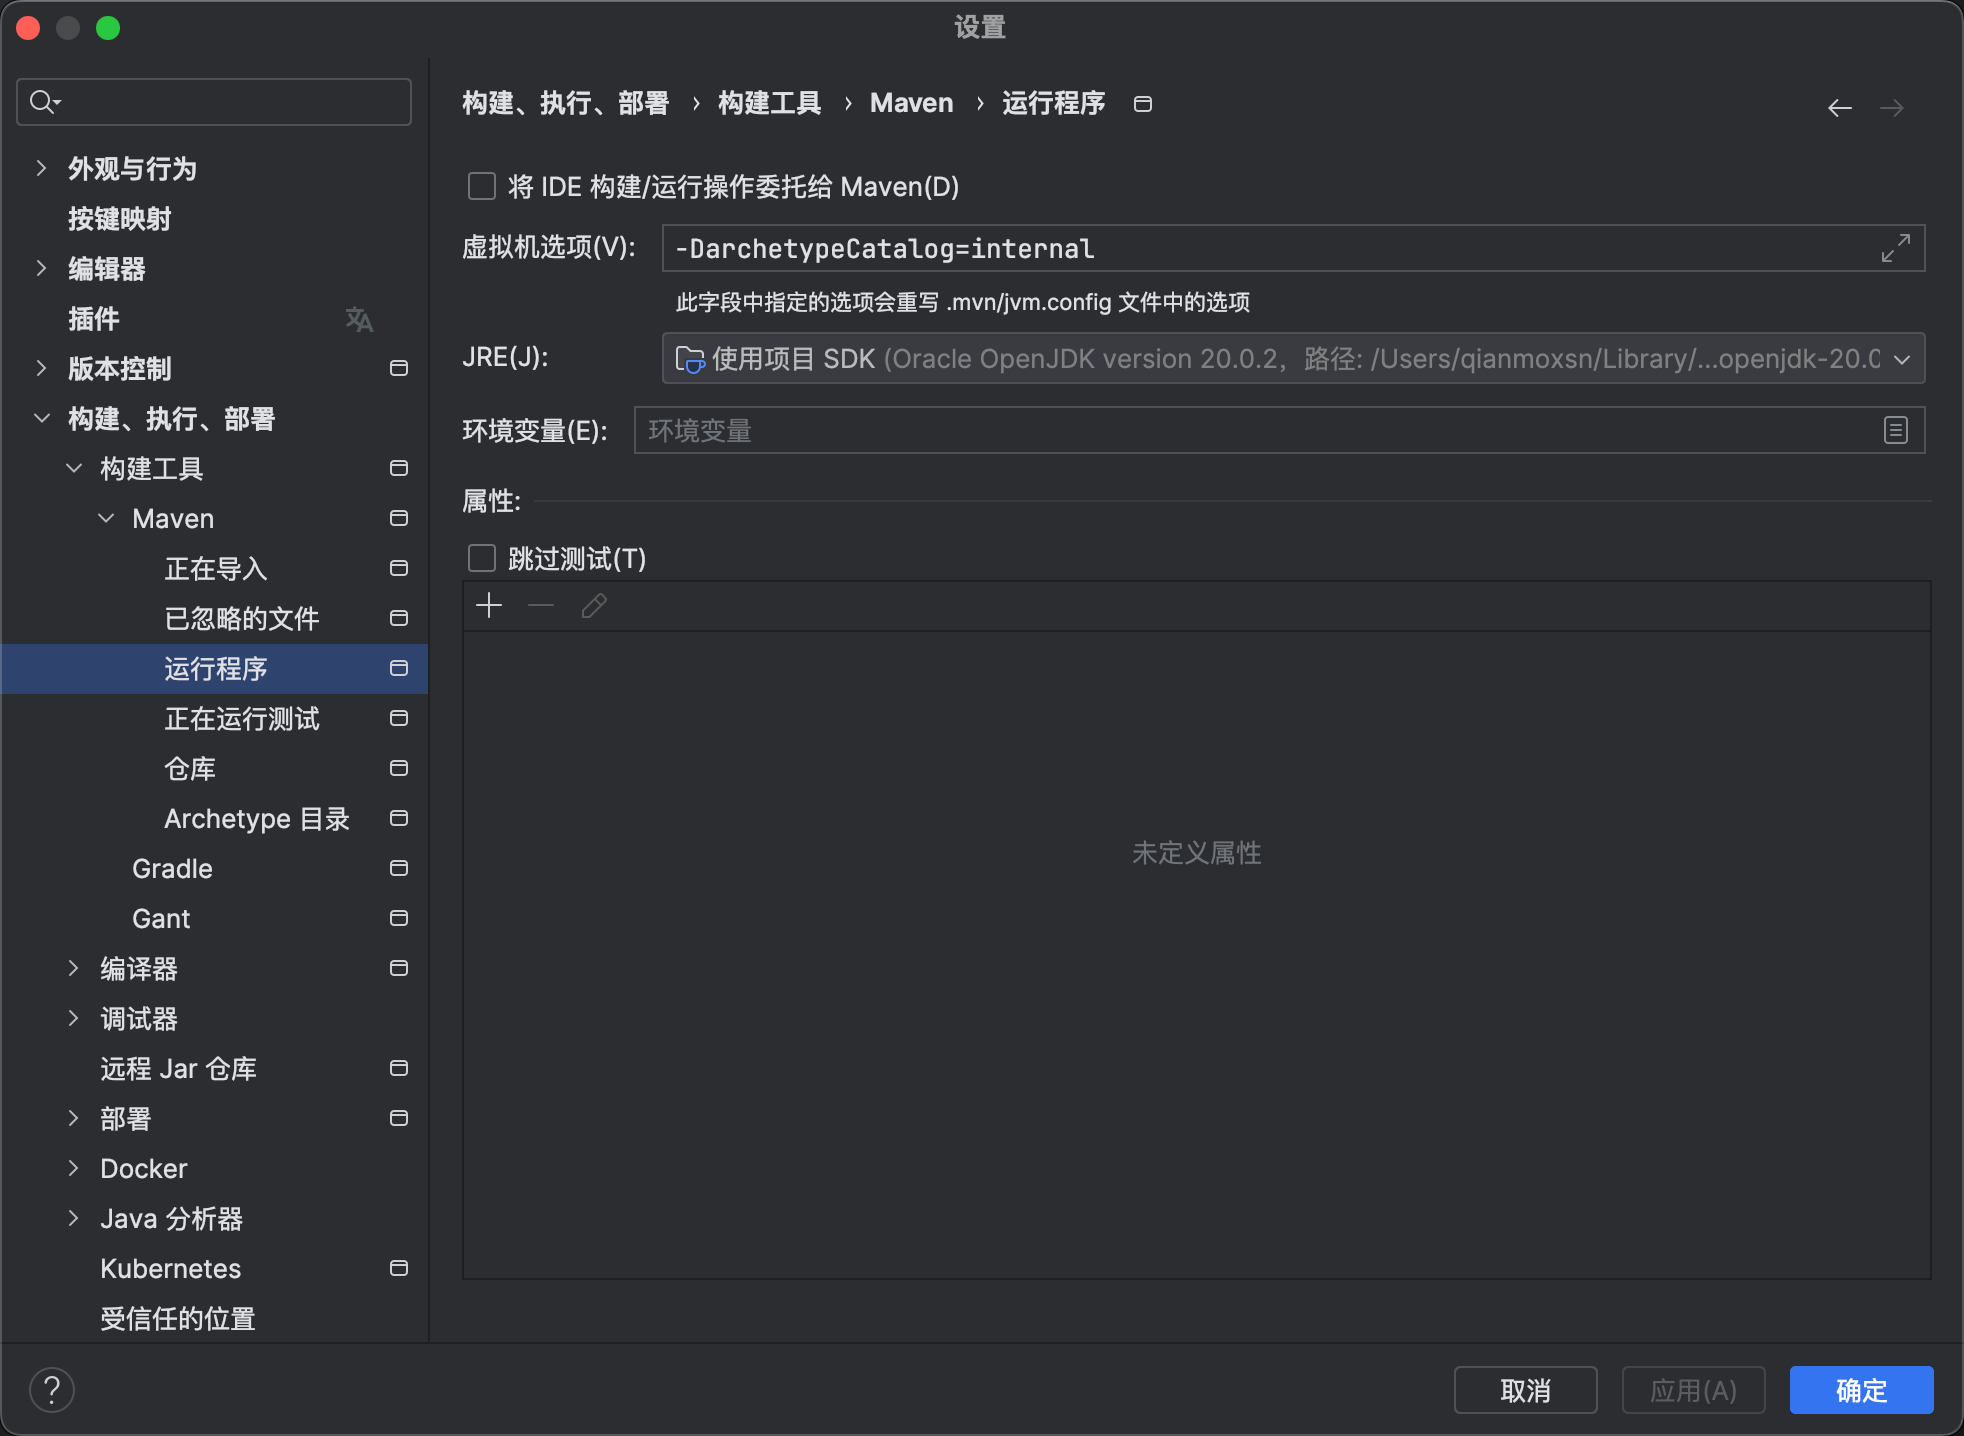
构建maven执行环境
在spring脚手架创建的工程中找到pom.xml, 根据提示刷新maven依赖(右键→Maven→重新加载依赖),缺少的依赖自动从网络上下载,下载后可以在配置的mavenrepo路径中找到依赖包。
启动Springboot(项目)程序
项目中会有一个xxxAplication.java 其中有被@SpringBootApplication 注解的主程序,运行即可在内嵌的Tomcat服务器中完成部署。
Aplication.java
1
2
3
4
5
6
7
8
9
10
11
| package com.cnsportiot.otabackend;
import org.springframework.boot.SpringApplication;
import org.springframework.boot.autoconfigure.SpringBootApplication;
@SpringBootApplication
public class OtabackendApplication {
public static void main(String[] args) {
SpringApplication.run(OtabackendApplication.class, args);
}
}
|
启动log
1
2
3
4
5
6
7
8
9
10
11
12
13
14
15
16
17
18
|
  .   ____          _            __ _ _
 /\\ / ___'_ __ _ _(_)_ __  __ _ \ \ \ \
( ( )\___ | '_ | '_| | '_ \/ _` | \ \ \ \
 \\/  ___)| |_)| | | | | || (_| |  ) ) ) )
  '  |____| .__|_| |_|_| |_\__, | / / / /
 =========|_|==============|___/=/_/_/_/
 :: Spring Boot ::                (v3.2.2)

2024-02-08T19:10:48.466+08:00  INFO 11460 --- [           main] c.c.otabackend.OtabackendApplication     : Starting OtabackendApplication using Java 21.0.2 with PID 11460 (D:\Code\otabackend\target\classes started by 28330 in D:\Code\otabackend)
2024-02-08T19:10:48.467+08:00  INFO 11460 --- [           main] c.c.otabackend.OtabackendApplication     : No active profile set, falling back to 1 default profile: "default"
2024-02-08T19:10:49.163+08:00  INFO 11460 --- [           main] o.s.b.w.embedded.tomcat.TomcatWebServer  : Tomcat initialized with port 8080 (http)
2024-02-08T19:10:49.180+08:00  INFO 11460 --- [           main] o.apache.catalina.core.StandardService   : Starting service [Tomcat]
2024-02-08T19:10:49.180+08:00  INFO 11460 --- [           main] o.apache.catalina.core.StandardEngine    : Starting Servlet engine: [Apache Tomcat/10.1.18]
2024-02-08T19:10:49.220+08:00  INFO 11460 --- [           main] o.a.c.c.C.[Tomcat].[localhost].[/]       : Initializing Spring embedded WebApplicationContext
2024-02-08T19:10:49.220+08:00  INFO 11460 --- [           main] w.s.c.ServletWebServerApplicationContext : Root WebApplicationContext: initialization completed in 711 ms
2024-02-08T19:10:49.480+08:00  INFO 11460 --- [           main] o.s.b.w.embedded.tomcat.TomcatWebServer  : Tomcat started on port 8080 (http) with context path ''
2024-02-08T19:10:49.485+08:00  INFO 11460 --- [           main] c.c.otabackend.OtabackendApplication     : Started OtabackendApplication in 1.331 seconds (process running for 2.061)
|
访问localhost:8080
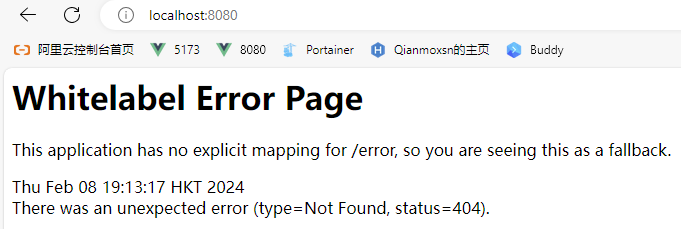
这里因为我们没有进行任何的映射所以会报错。但这说明springboot服务已经成功启动。
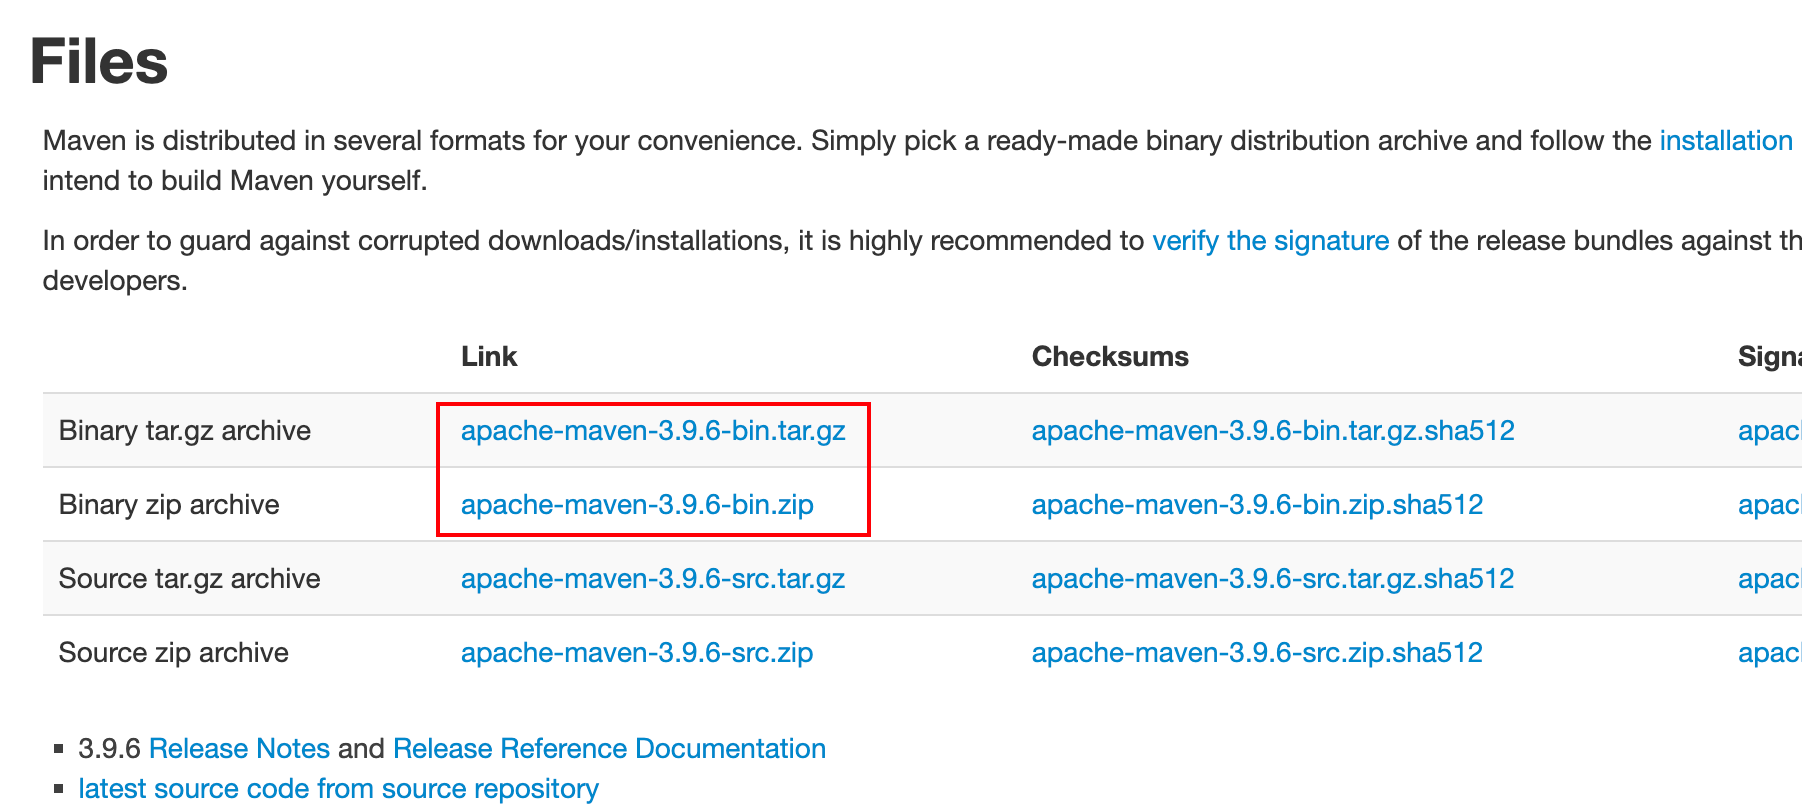
附:Maven下载安装配置
下载
找到apache maven官网Maven – Welcome to Apache Maven,下载二进制包。
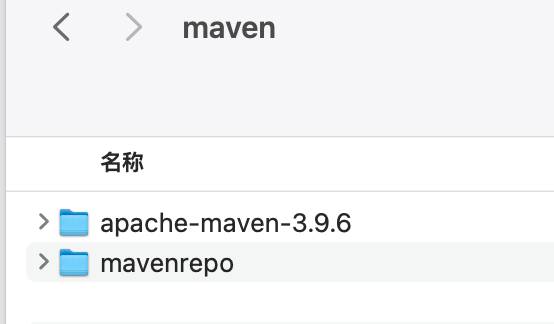
下载后解压,同时新建仓库文件夹(依赖的存储位置)
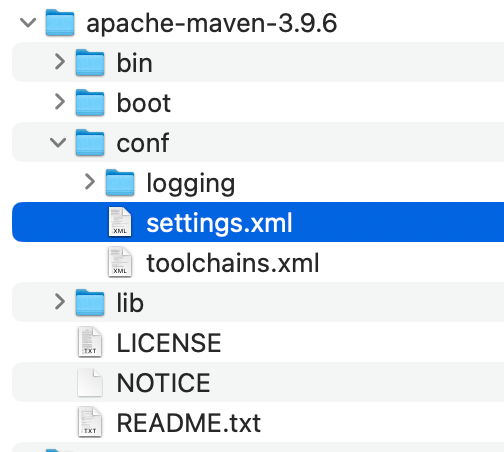
在maven binary文件夹中找到setting.xml,修改配置文件(阿里云镜像地址)
1
2
3
4
5
6
| <mirror>
<id>aliyunmaven</id>
<mirrorOf>*</mirrorOf>
<name>阿里云公共仓库</name>
<url>https://maven.aliyun.com/repository/public</url>
</mirror>
|
idea配置maven
在构建工具maven中修改maven的路径、仓库及配置路径
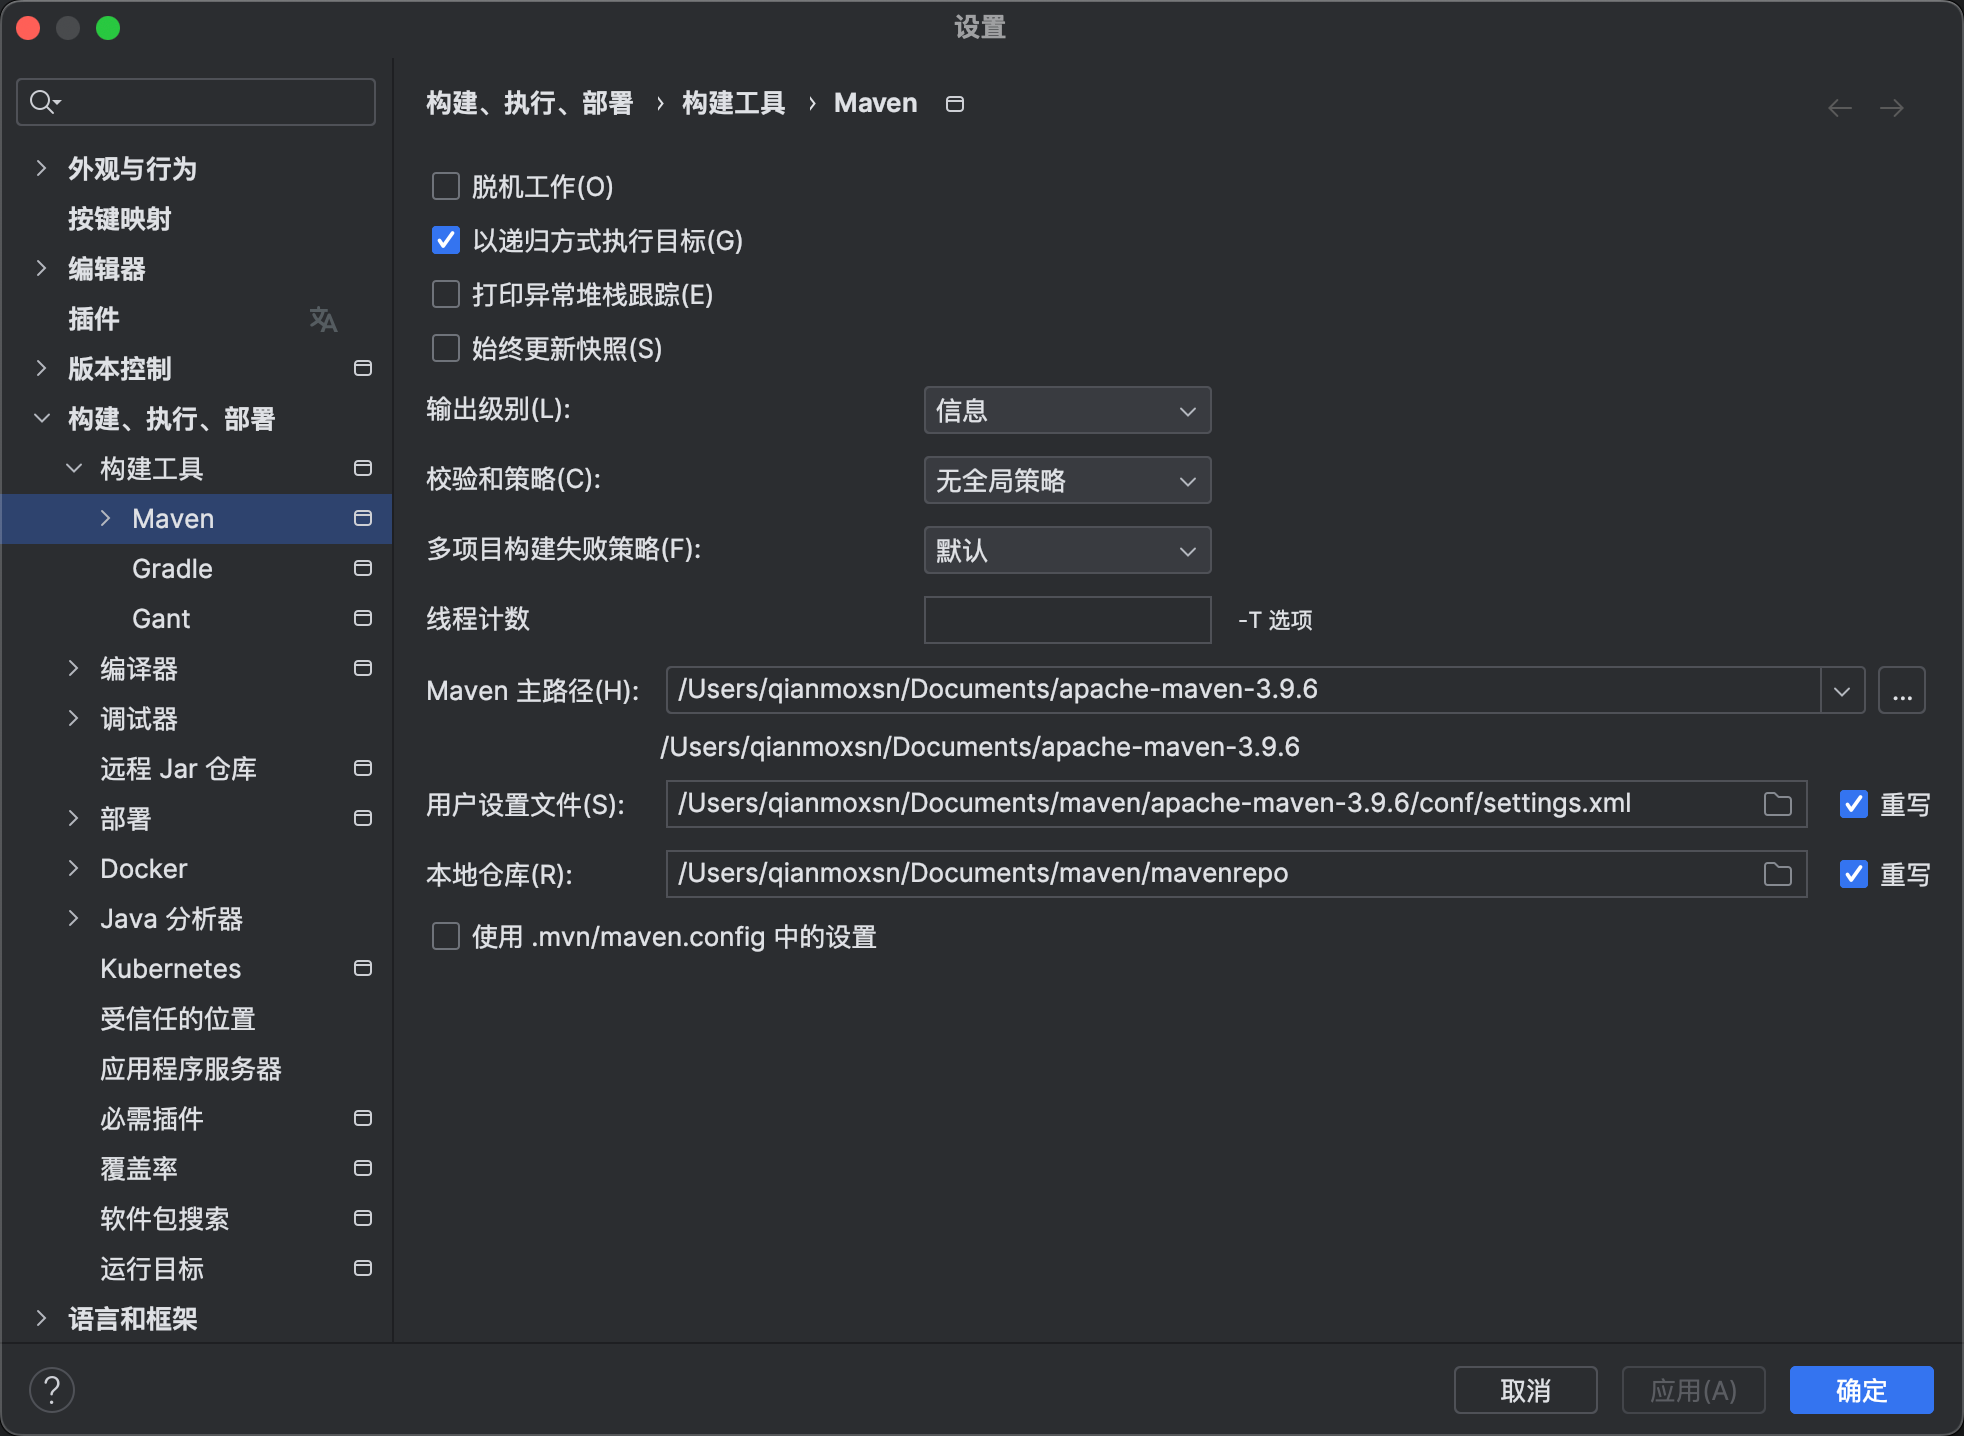
同时在运行程序标签中添加运行参数
-DarchetypeCatalog=internal